Recovering Ubuntu 12.04 ZFS on Linux root pool mirror boot failure 3
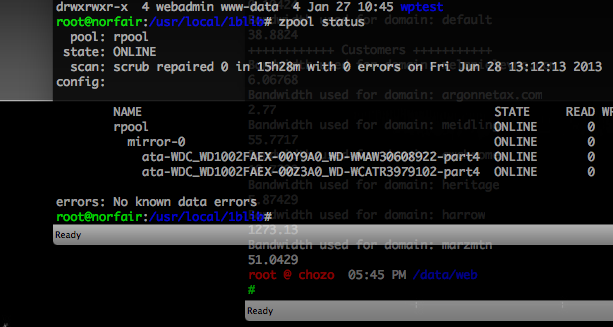
Recently I ran into a problem booting my root ZFS mirror. Couldn’t get it to load, and only saw blinking cursor or blank screens. Grub could see the FS though! Â I suspect I had a corrupted or out-of-sync zpool.cache file. Don’t ask me how that can happen, because the whole […]